你可以通过邮箱登录的例子来了解身份认证的基本用法。
环境准备
- 支持 Xcode 7.0 及以上版本
- 支持 iOS 7.0 及以上版本
1. 创建应用
首先,你需要在控制面板中创建应用。
2. 安装 SDK
SDK 的安装方式有两种,你可以任选其一:
要将 Wilddog SDK 导入到你的工程中,推荐使用 CocoaPods,如果没用过 CocoaPods,请先访问 CocoaPods getting started。
打开工程目录,新建一个 Podfile 文件
$ cd your-project-directory
$ pod init
$ open -a Xcode Podfile # opens your Podfile in XCode
然后在 Podfile 文件中添加以下语句
pod 'Wilddog/Auth'
最后安装 SDK
$ pod install
$ open your-project.xcworkspace
- 下载 Auth SDK 点此下载。
- 下载 Core SDK 点此下载。
- 把 WilddogAuth.framework 和 WilddogCore.framework 拖到工程目录中。
- 选中 Copy items if needed 、Create Groups,点击 Finish。
- 点击工程文件 -> TARGETS -> Build Settings,在 Other Linker Flags 中添加 -ObjC。
3. 创建 Auth 实例
使用 Wilddog Auth SDK 之前,需要先创建实例:
1.引入头文件
2.初始化
Objective-C
Swift
WDGOptions *options = [[WDGOptions alloc] initWithSyncURL:@"https://your-wilddog-appid.wilddogio.com"];
[WDGApp configureWithOptions:options];
WDGAuth *auth = [WDGAuth auth];
|
let options = WDGOptions.init(syncURL: "https://your-wilddog-appid.wilddogio.com")
WDGApp.configure(with: options)
let auth = WDGAuth.auth()
|
4. 使用邮箱认证
1.开启邮箱登录
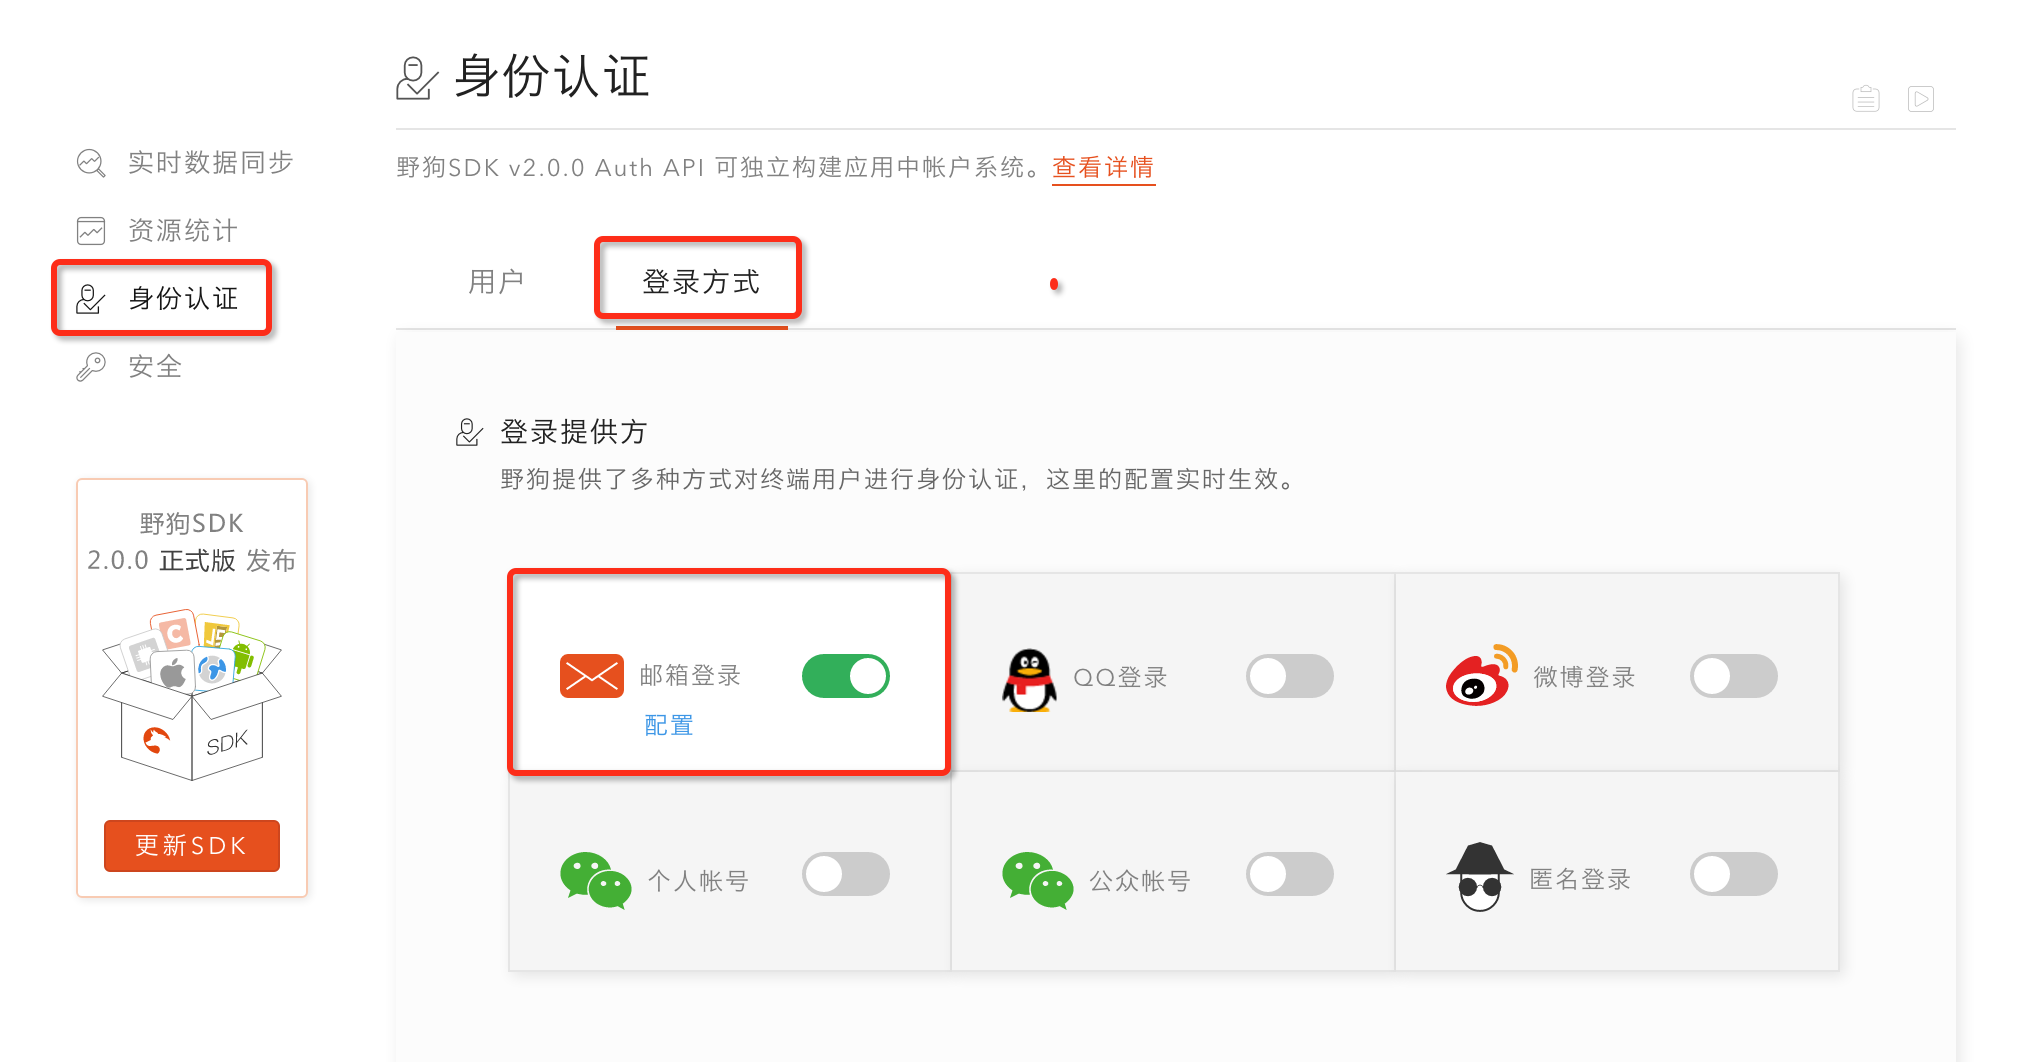
在 控制面板—身份认证—登录方式 中开启邮箱登录功能:

2.创建新用户
Objective-C
Swift
[auth createUserWithEmail:@"user@example.com" password:@"password" completion:^(WDGUser * _Nullable user, NSError * _Nullable error) {
}];
|
auth?.createUser(withEmail: "user@example.com", password:"password", completion: { (user, error) in
})
|
3.邮箱密码登录
signInWithEmail 方法用于已创建的用户登录:
Objective-C
Swift
[auth signInWithEmail:email
password:password
completion:^(WDGUser *user, NSError *error) {
}];
|
auth?.signIn(withEmail: email, password: password) { (user, error) in
}
|
5. 退出登录
signOut 方法用于退出当前登录用户:
Objective-C
Swift
NSError *error;
[[WDGAuth auth] signOut:&error];
if (!error) {
}
|
try! WDGAuth.auth()!.signOut()
|
Auth 更多使用方式,请参考 完整指南 和 API 文档。


